Scanning Documents to a Computer with a Scanner
8/23/20252 min read
This guide assumes you have a basic flatbed or sheet-fed scanner that connects directly to your computer, either via USB or wirelessly.
Setup and Installation:
a. Physical Setup:
If your scanner is new, unbox it and follow the manufacturer's setup instructions.
Place your scanner on a flat, stable surface near your computer.
b. Software Installation:
Most scanners come with a CD or DVD that contains the necessary drivers and software. Insert this into your computer and follow the on-screen instructions.
If you don't have a disc, visit the scanner manufacturer's website. Navigate to their "Support" or "Downloads" section, find your scanner model, and download the appropriate drivers and software.
Install the downloaded drivers and software.
Preparing the Document:
Remove any staples or paper clips from the document.
Ensure the document is clean and free of smudges or marks.
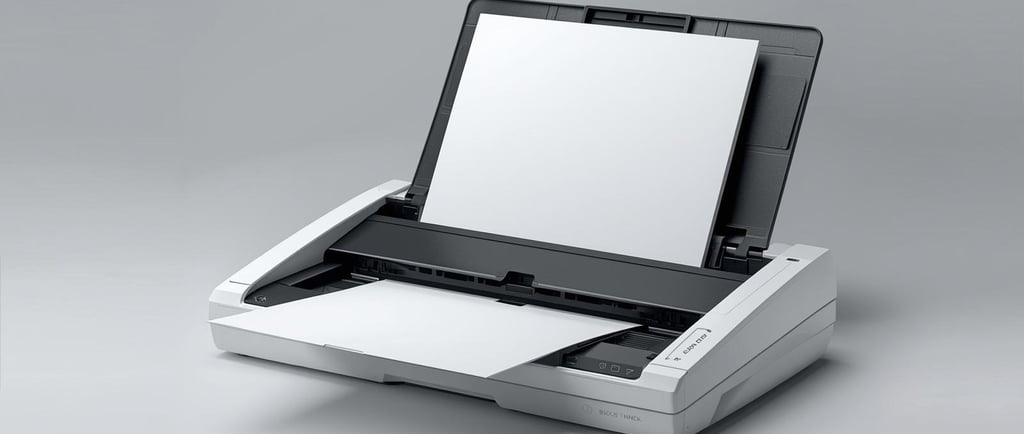
If you're using a flatbed scanner, open the scanner lid. Place the document face-down on the scanner glass, aligning it with the indicated edges or markers.
If you're using a sheet-fed scanner, place the document into the feed tray.
Scanning the Document:
a. Launch Scanning Software:
On your computer, open the scanning software that came with your scanner.
You might have multiple scanning software options, choose the one you're most comfortable with.
b. Select Scanning Preferences:
Choose the type of scan you want (e.g., color, black & white, or grayscale).
Select the appropriate resolution. For most documents, 300 dpi (dots per inch) is sufficient. For high-quality images or detailed graphics, you might opt for 600 dpi or higher.
Choose the file format for the scanned document (e.g., PDF, JPEG, TIFF).
c. Preview Scan (Optional):
Many scanning software options allow you to do a quick "Preview" scan. This lets you see how the document will look and allows you to adjust the scan area if necessary.
d. Scan:
Click the "Scan" button in your software. Wait for the scanner to complete the scanning process.
Some software will show a progress bar indicating how much of the scan is complete.
Review and Edit:
After scanning, review the document on your computer screen for clarity and accuracy.
Use the software's editing tools if you need to make adjustments, such as cropping, rotating, or adjusting brightness and contrast.
Save and Store:
Once satisfied with the scan, save the document to your desired location on your computer.
Name the file appropriately for easy retrieval later.
If planning to share the document or store it long-term, consider saving it in a commonly used format like PDF.
Maintenance and Cleanup:
Keep your scanner's glass surface clean to ensure high-quality scans. Periodically wipe it with a soft, lint-free cloth and a mild glass cleaner.
Delete any unnecessary scans or duplicates from your computer to save storage space.
Safety Tips:
Always disconnect the scanner from the power source if cleaning the exterior with any liquid solutions.
Do not press too hard when cleaning the scanner glass, as this might damage or break it.
And that's it! With a few steps, you can easily digitize your documents using a scanner and store them on your computer.
KamBri Solutions LLC
Contact us
Subscribe to Our Newsletter
© 2026 KamBri Solutions. All rights reserved.